GARAGE ORGANIZATION USING UNISTRUT TROLLEY
ARE YOU TIRED OF ALWAYS LOOSING YOUR TOOLS? Replace those bulky and expensive garage toolboxes with a simple to build DIY sliding tool wall instead.
THE PARTS LIST
THE CUSTOM TOOL WALL BUILD
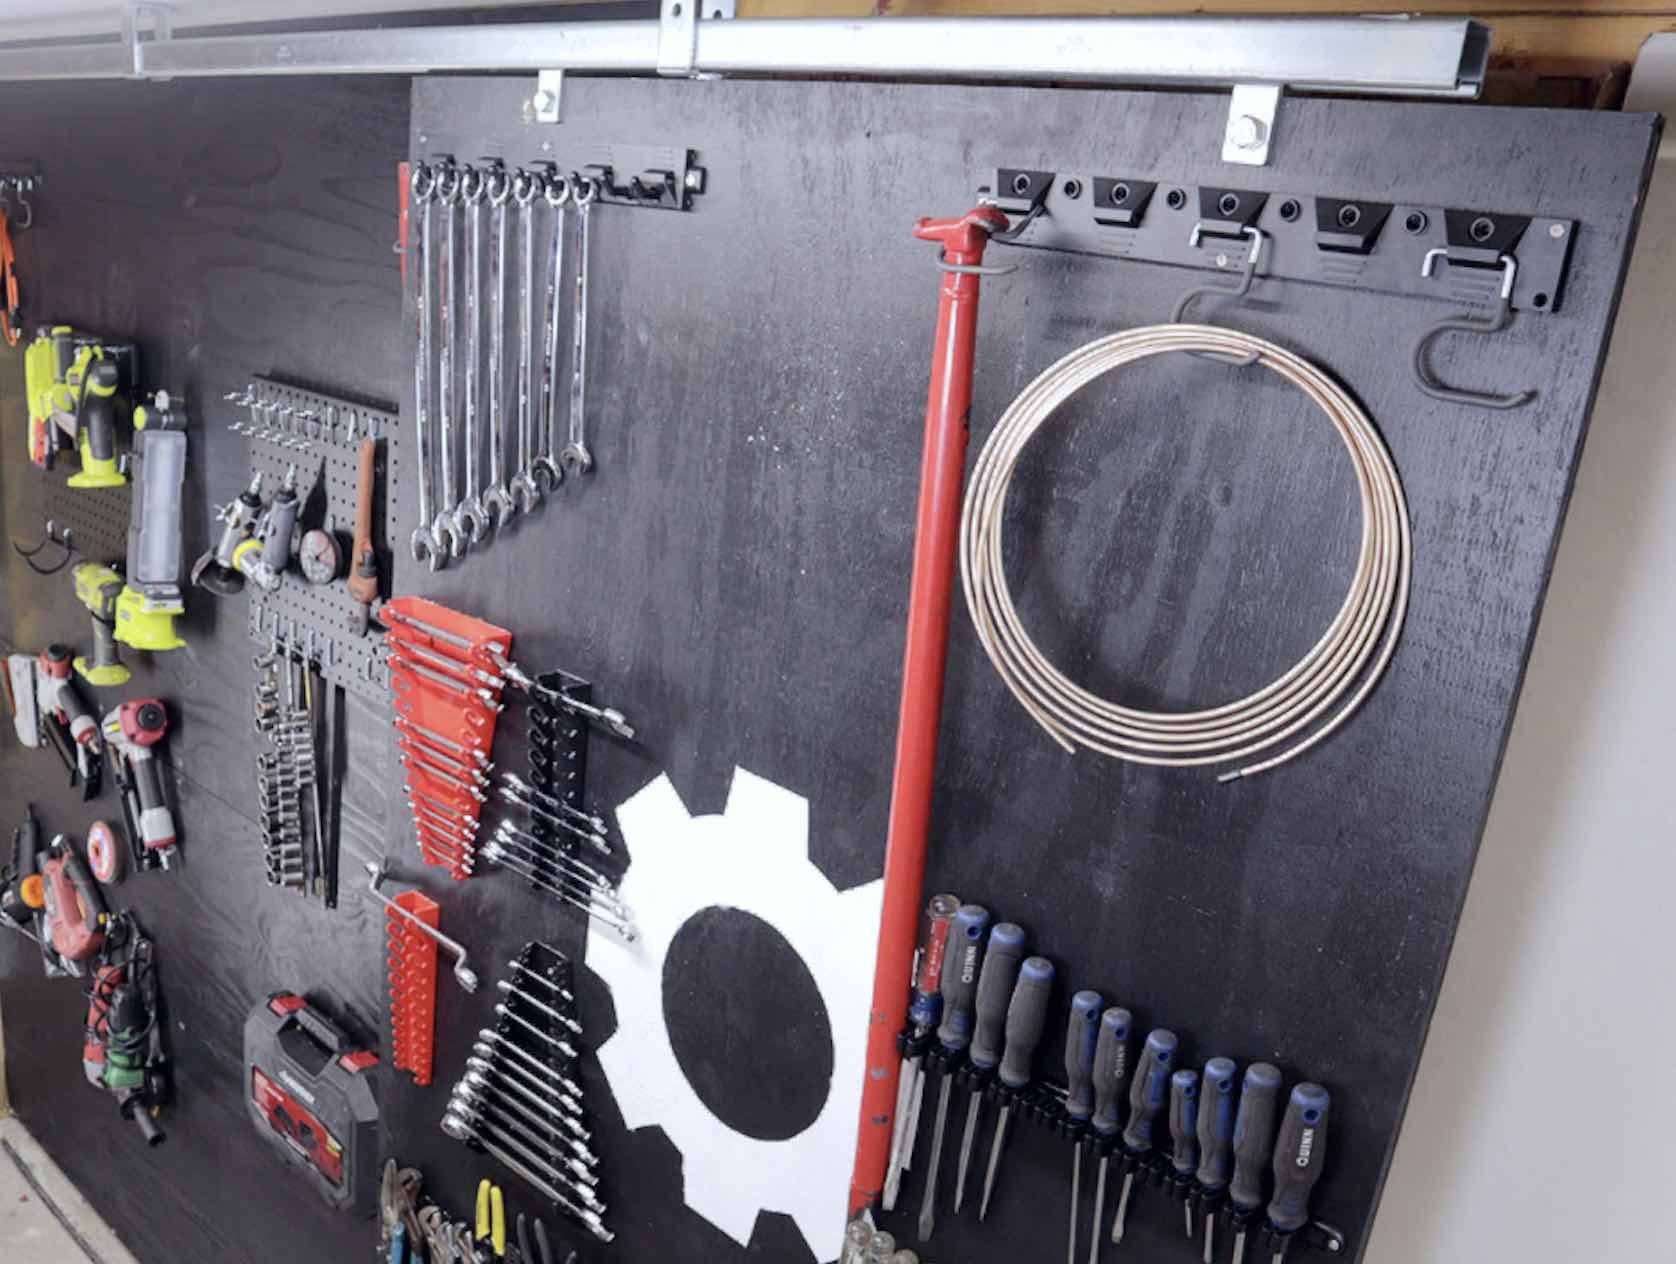
The sliding tool wall is pretty simple to build. The wall is made from sanded plywood that we painted black.
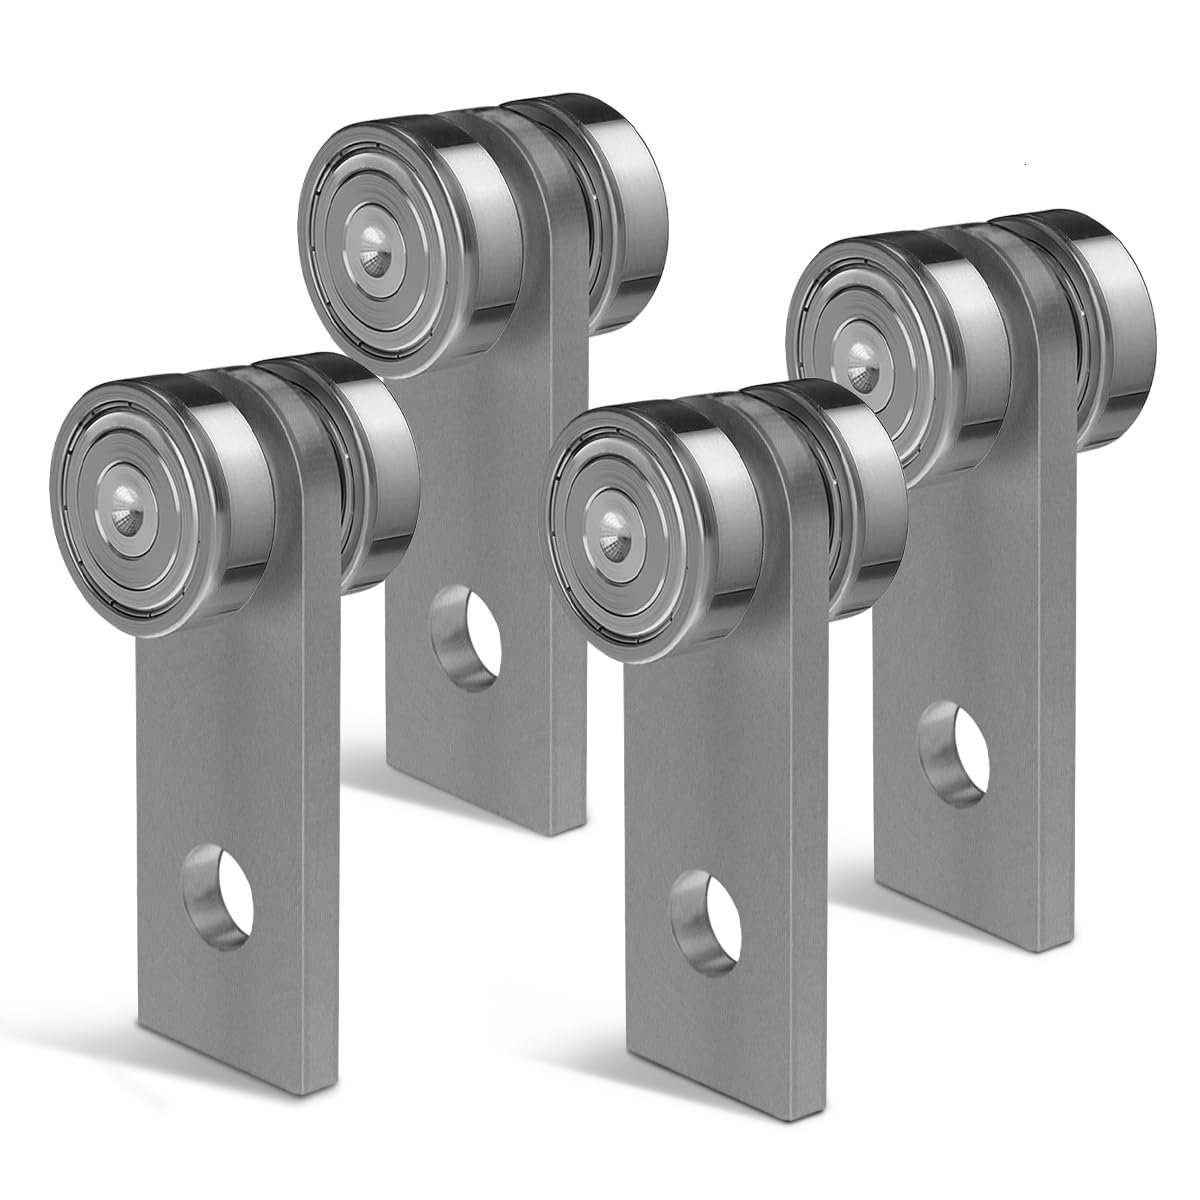
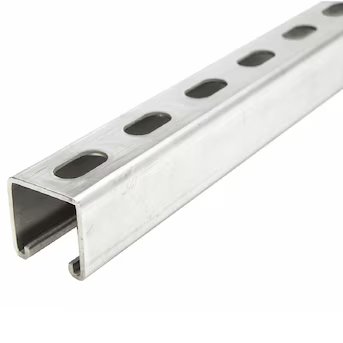
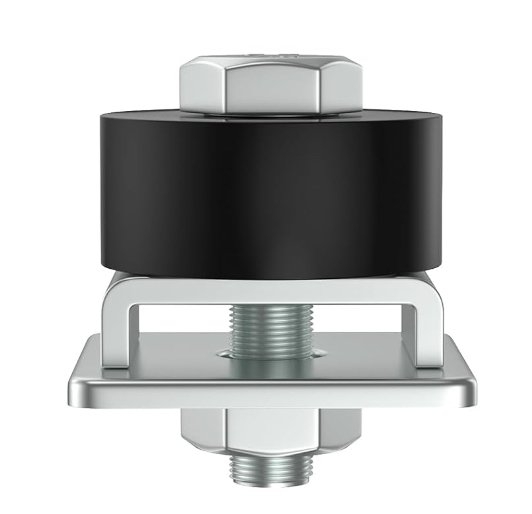
It hangs from the set of trolly sliders attached to a piece of unistrut.
BUILD INSTRUCTIONS
1. Purchase three 4x8’ 3/4” plywood sheets from your local hardware store and mount two sheets directly horizontal to the existing garage wall.
The third piece of plywood will be installed with some trolly sliders and unistruit attached to the ceiling.
2. Cut your plywood to the appropriate height and mount the two trolly sliders to the top of your plywood using lag bolts.
Make sure you have the right gap between your trolly slider wheels and the top of your plywood.
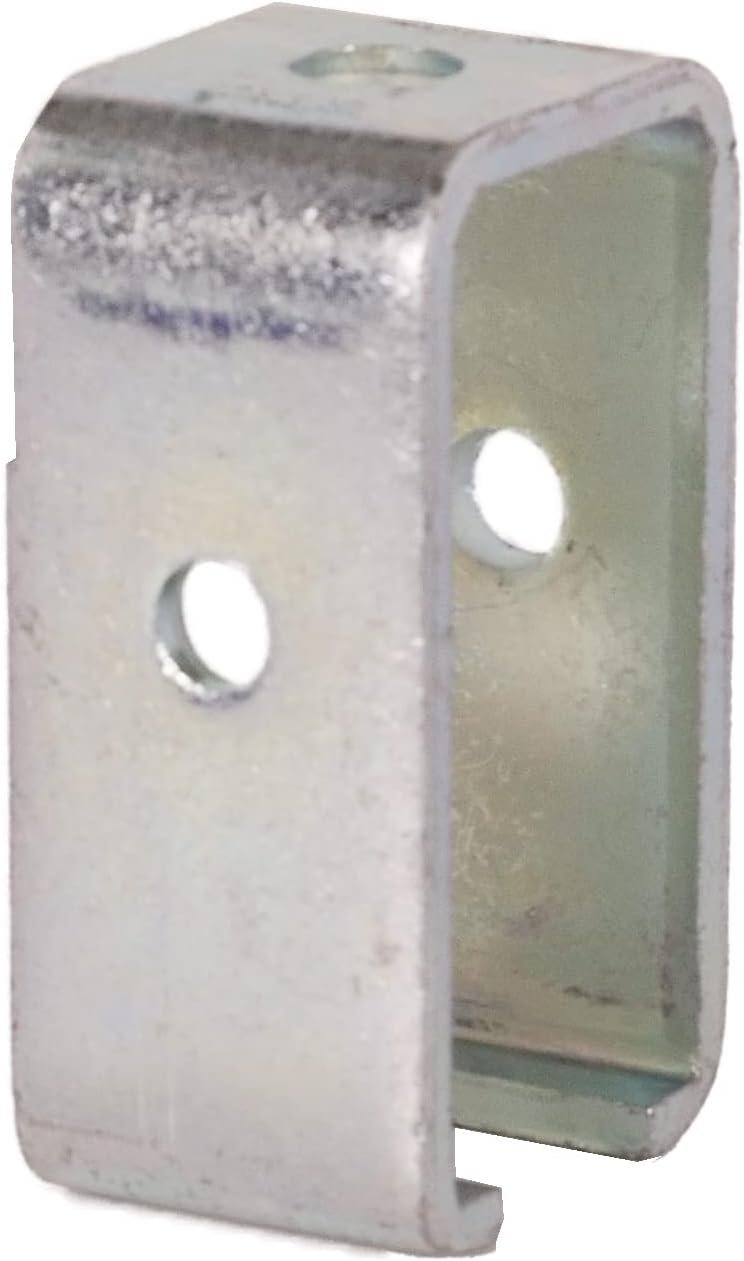
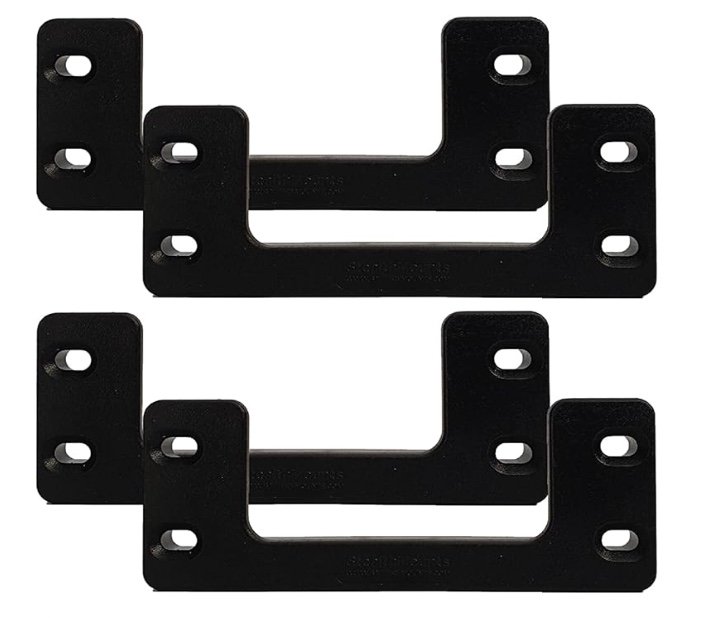
3. Install two or three unistrut holders into a solid ceiling joist and slide your unistrut into the holders.
Additional bolts should be added to the unistrut holders to prevent the unistrut from bouncing up and down.
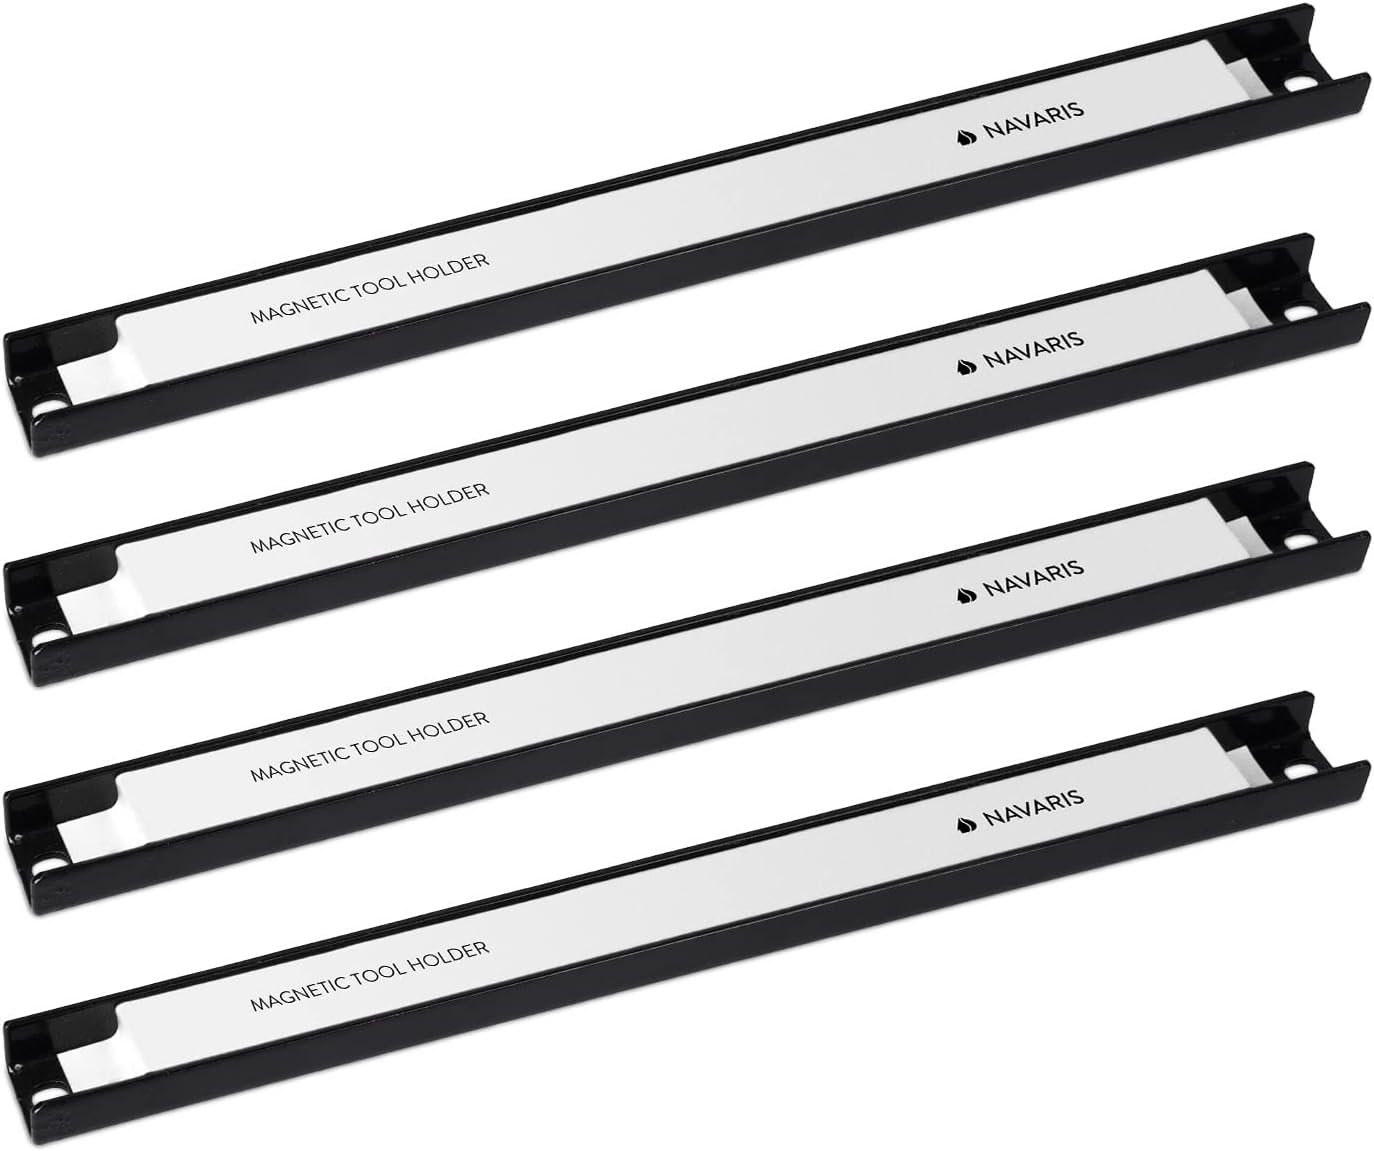
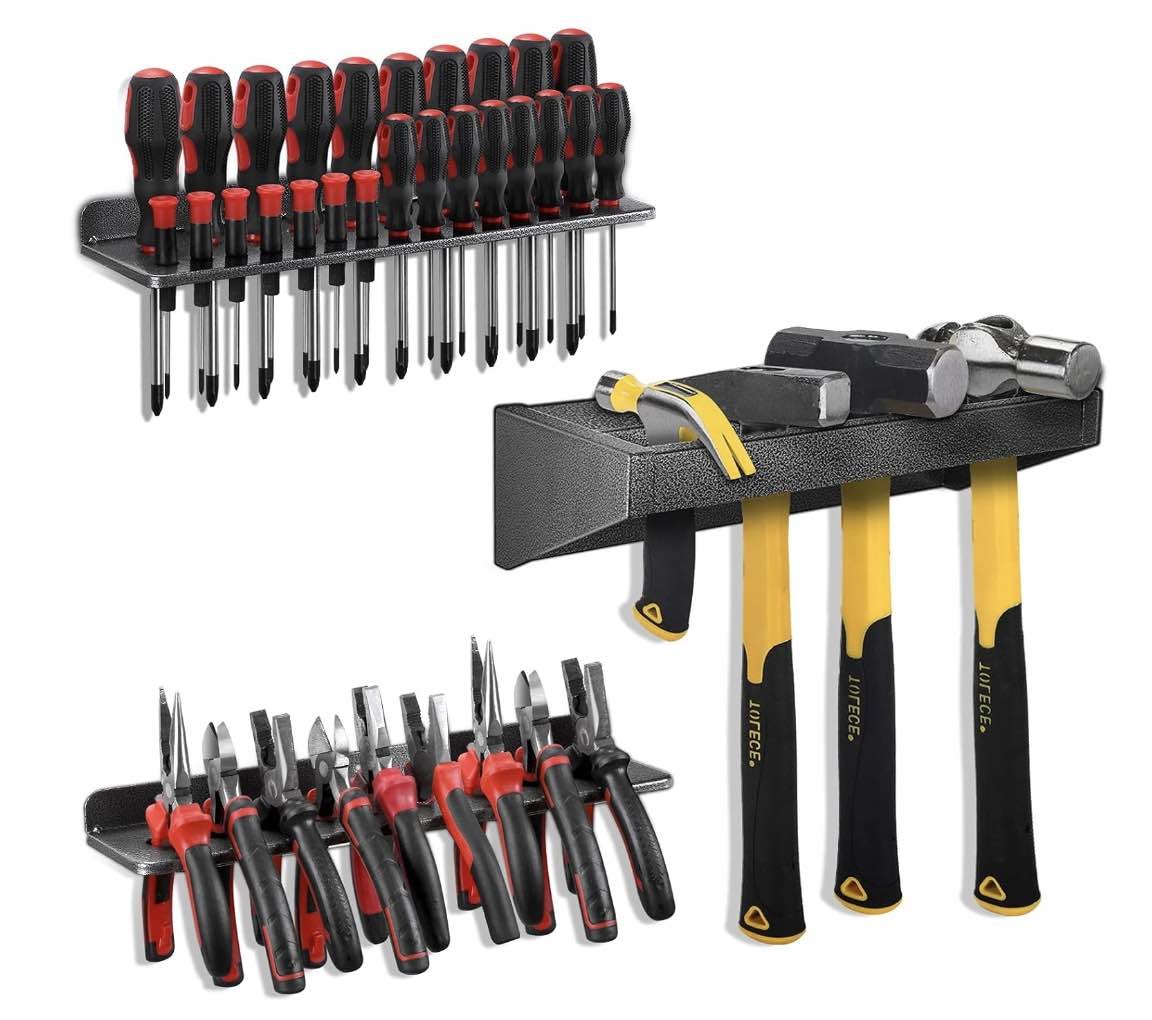
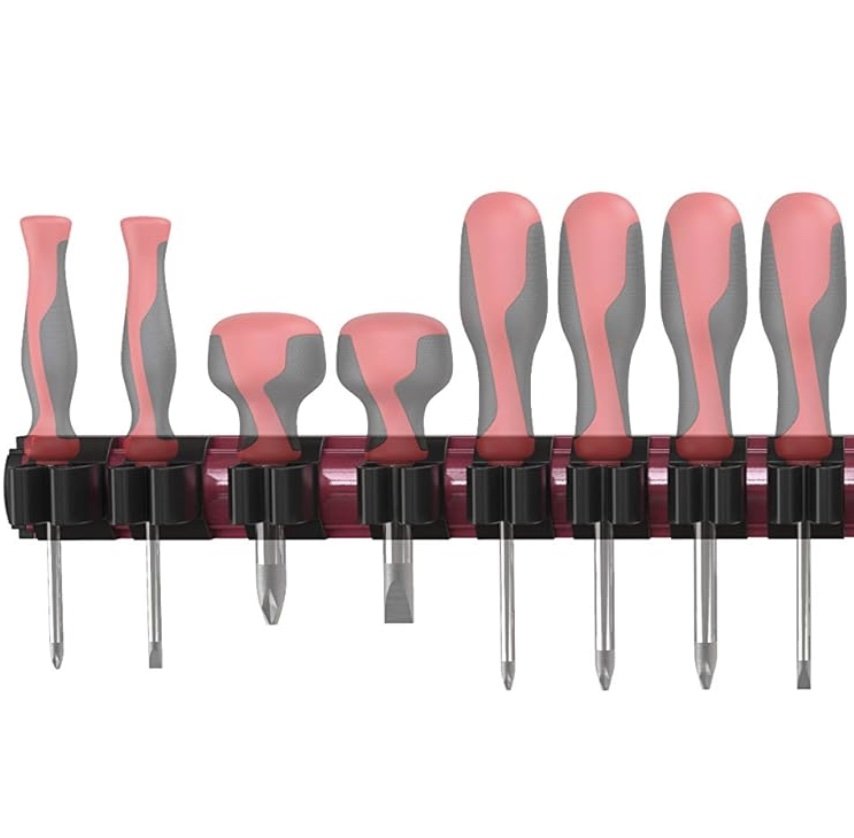
4. Mount accessories to your tool wall to hold your tools like packout cleats, magnetic holders, screw driver holders, and other types of tool support hangers.
5. Hang the plywood by sliding its wheel bearings into the unistrut.
The weight of the plywood keeps the wall nice and steady. No additional brackets on the floor were needed.
6. Add a unistrut bumper stop at the end of the unistrut to prevent the tool wall from sliding off the piece of unistrut.
Add all your tools to the wall and enjoy a clutter free space.
Overall the design is simple and is something you can build within a few hours. We saved tons of space and now have no problems finding our tools.
If you cool or heat your garage then check out these steps on how to insulate your garage.

