IS AN EASTWOOD WELDER THE BEST FOR BEGINNERS?
Our project cars are in desperate need of auto body work and that’s where the Eastwood MP140i Multi Process Welder comes in.
With so many welders to choose from, what’s the best welder for a beginner?
We choose the MP140i multi-process welder from Eastwood Co.
Eastwood sells automotive tools focused around the DIYer, and their welders are no different.
We picked to start with MIG welding which requires welding gas. Now you could go with a cheaper flux core welder that doesn’t use gas, but you may have trouble with blowouts on thinner automotive sheet metal.
The nice thing about the MP140i Eastwood Welder is that it comes with everything you need (minus a gas cylinder) for $500. The MP140i also supports different types of welding such as stick, TIG, Flux, or MIG.
We also like that the MP140i only needs 120v electricity. Most folks don’t have a spare 220v outlet, which is another reason this welder is great for beginners. Eastwood also has a great welder selector tool guide to help you pick out a welder based on your use case and skill level.
WELDING GAS REQUIREMENTS
Next we purchase a gas bottle and filled it with 75% Argon and 25% CO2 gas mix which is recommended for MIG welding.
When looking for gas welding, I’d recommend you buy a gas cylinder online.
Local gas refill places will charge you an arm and a leg for a new bottle. Once you have a bottle, you can get it filled up from places like Northern Tool, Tractor Supply, or a nearby Airgas store. Fair warning Airgas will be much more expensive.
SAFETY FIRST
Setting up the MP140i is pretty easy, but you should absolutely READ the manual and follow ALL safety procedures. Make sure you purchase and wear a proper welding mask and flame retardant clothing.
You should also have a proper fire extinguisher nearby. A welding blanket is also recommended which can be used to cover up any nearby flammable items.
Welding Safety Gear (Welding Mask, Gloves, Shirt, and blanket)
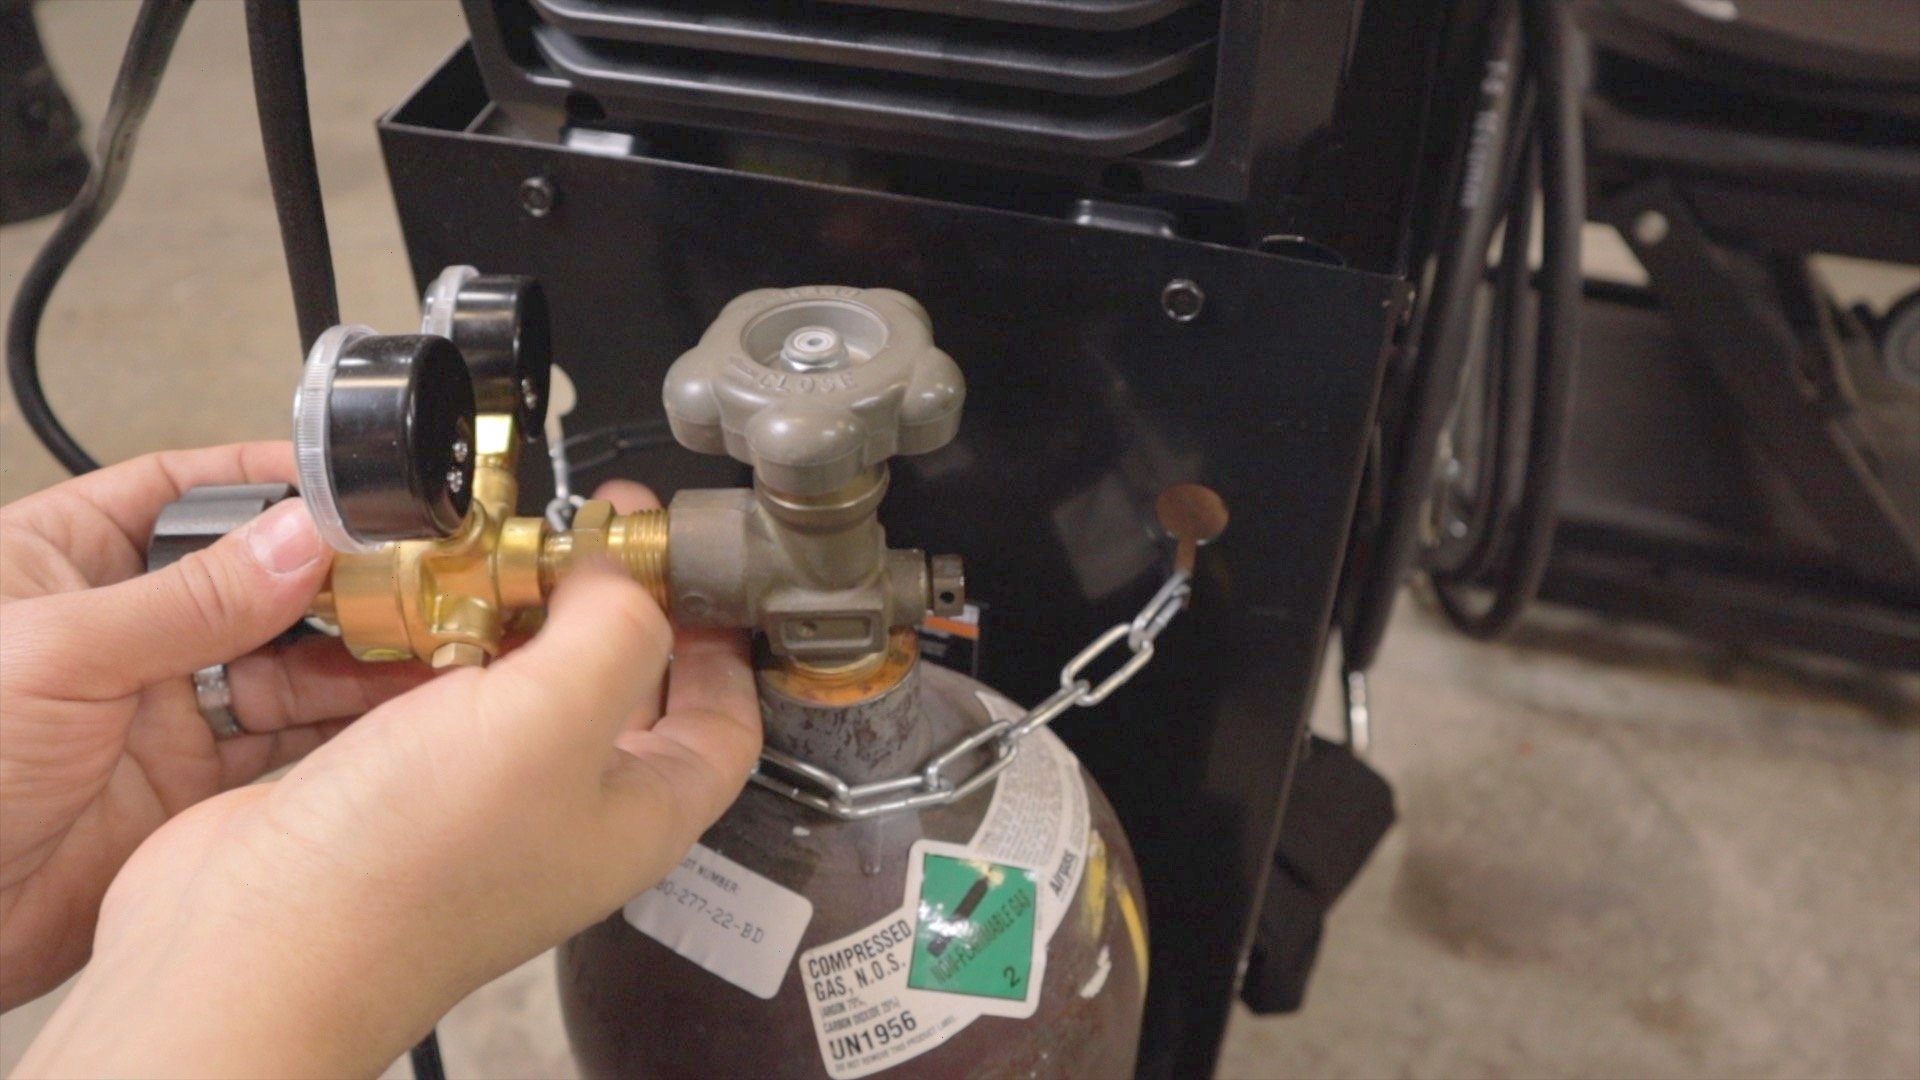
Connecting MP140i included Gas Regulator and Pressure Gauge into 40 CF Welding Gas on Welding Cart
We also recommend purchasing a welding cart. A cart with drawers are nice because you can then organize all your welding accessories in one place and Eastwood sells one with drawers. Once you have some welding gas, you can then set the gas and welder up on the cart.
EASTWOOD WELDER SETUP
Loading MP140i Guide Pipe with included 0.023 Welding Wire
Hook up the regulator and attach the hose from the regulator to the back of the gas port of the MP140i (both included with the MP140i). Don’t over-tighten the connectors and don’t use pipe thread or sealant which will cause gas leakage.
Then check for gas leaks using some gas leak detector solution.
After you’ve hooked up the gas, it’s time to attach the MIG torch and load the welding wire (both included with the Eastwood MP140i). The MIG torch slides into the front port and locks in place with a wing nut from the inside of the welder.
You can then connect the ground wire and polarity cable into the correct slot called out in the manual for MIG.
For MIG we set the machine toggle to MIG. We used the included MIG 0.023 welding wire and placed it on the spool.
Then just feed the wire into the guide pipe while the tension arm is in the unlatched position. The tension arm comes setup for 0.023 wire and locks easily in place.
START WELDING
Plug the welder into your standard 120v outlet and press the trigger to feed the wire through the MIG torch. Open up the gas cylinder and set the correct wire speed and voltage based on your thickness of material.
Don’t forget to hook your ground clamp and make sure your welder is setup for the correct polarity based on the type of welding you’re doing.
The Eastwood Welder wasn’t hard to use. The most complicated part of welding is finding the correct voltage and wire speed settings based on your material thickness. The helper chart inside the welder is a good starting point, but will require adjustments.
After MIG welding some new pieces of metal into our BMW e30 project car, we ran out of gas and all gas stores were closed. We went to Harbor Freight and bought some flux core wire, changed polarity and started flux core welding. The flux welding worked, but sometimes requires more grinding and using a copper backing plate to prevent blowouts on larger gaps.
The best thing we like about the Eastwood MP140i is that it supports TIG, MIG, Flux Core, and stick welding.


