HOW TO FIX FLOOR PAN RUST
If you have a project car that has rusty floor pans, with a cutting tool, a welder, and some extra sheet metal anything can be repaired. Lets dive in…
PARTS LIST
SAVE 10% w/code THEBUILD10 on www.eastwood.com
Rusty floor pans and firewalls are a common issue in early unibody-based cars. The seam-seal between sheet metal panels starts to break down and water finds a way in. After years of neglect, floor pans and firewalls with sitting water creates rust. But with the right tools and some patience, you can restore any project car to its original state.
STEP BY STEP DIRECTIONS
1. Assess the Damage
Start by pulling up the carpet to get a clear view of all the rusted areas. Mark the sections that need to be replaced.
2. Cut out all the rust
Now its time to cut all the rust out. Cut about a quarter inch away from the rust to make sure you have some solid sheet metal to weld onto.
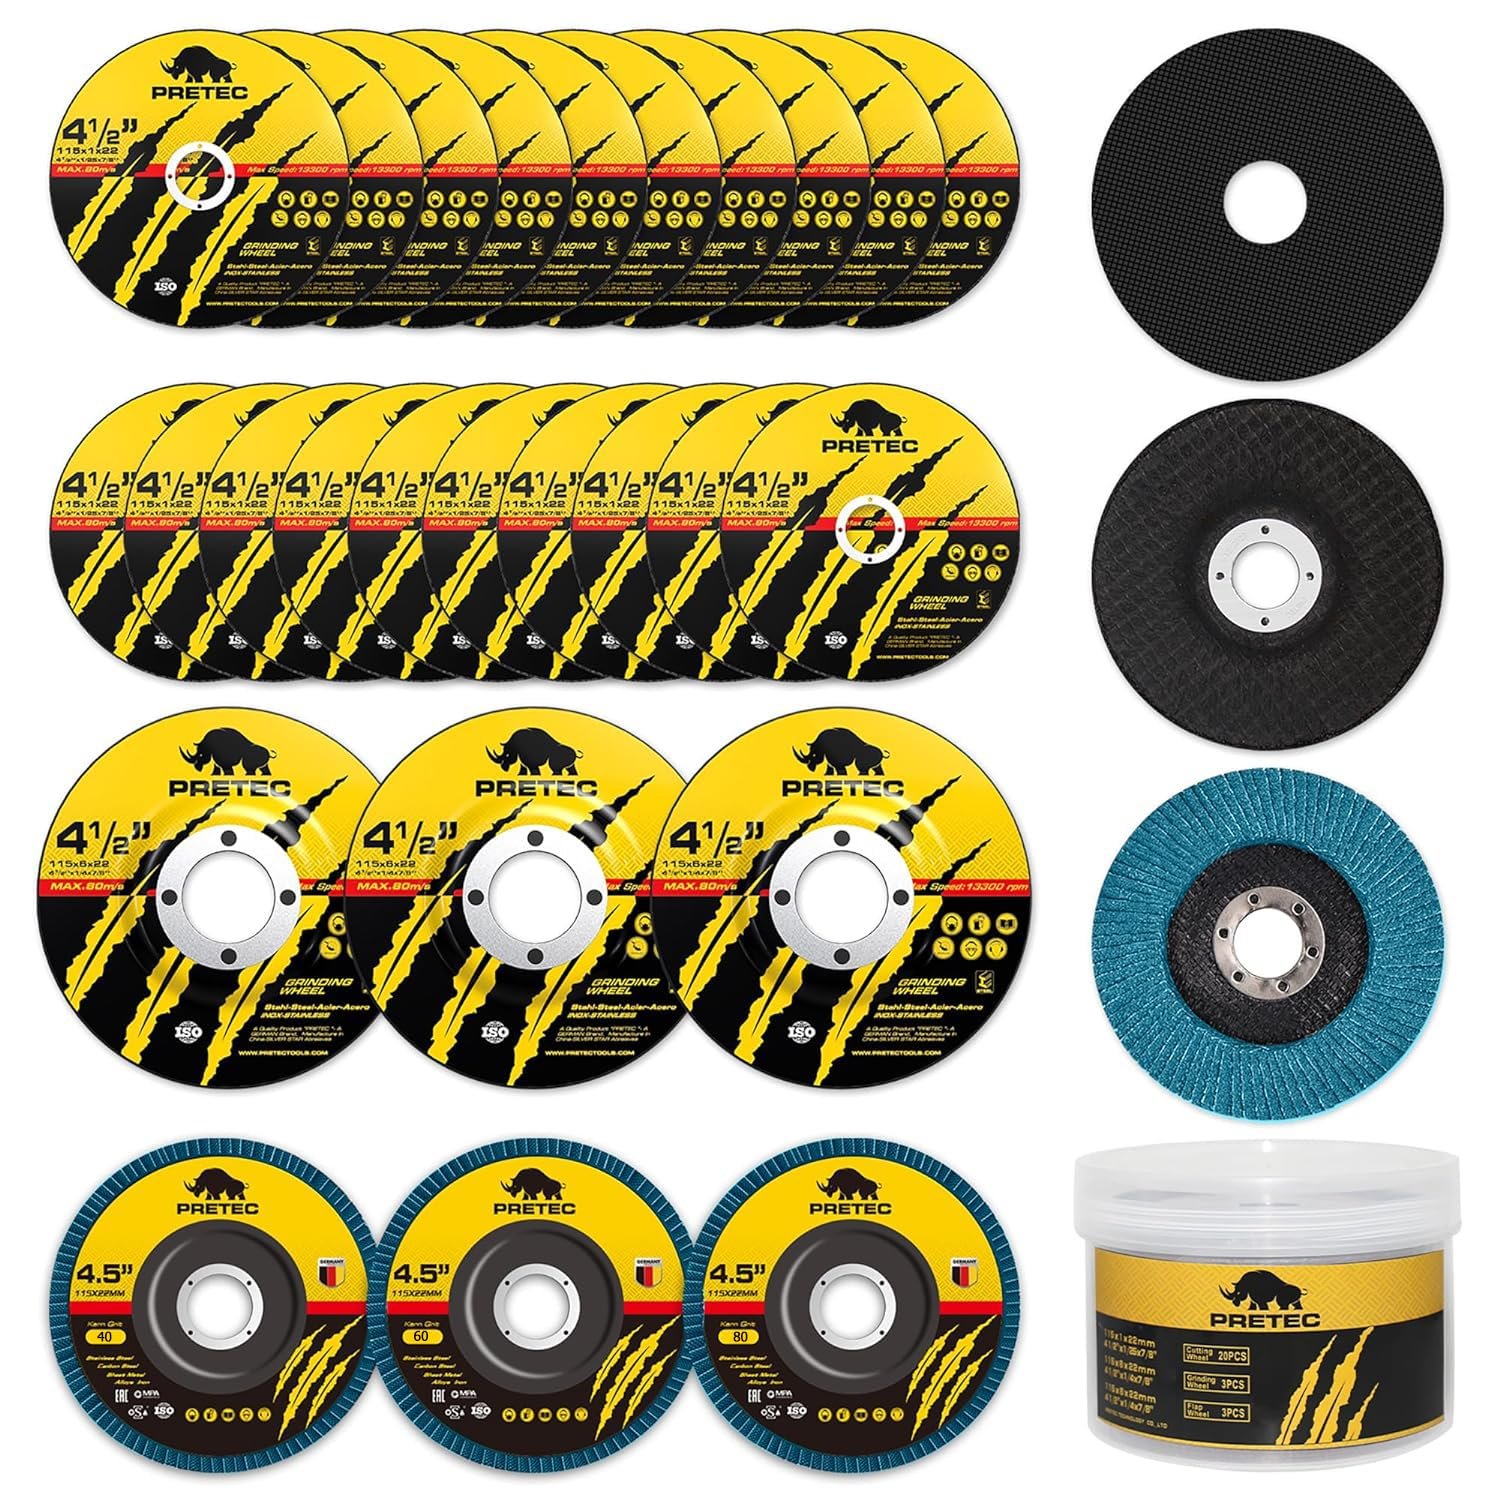
You can use an angle grinder or a right angle die grinder with a cutoff wheel for harder to reach areas.
3. Measure the area and/or create a template:
Measure the section and trace your measurements onto your new sheet metal. For complex shapes, you can create a template with card stock or any cardboard material you have lying around.
Masking tape also works too. You can then use the template to trace your measurements onto your sheet metal.
4. Measure and Cut Replacement Panels:
Cut your new sheet metal with some electric sheet metal shears or an angle grinder with a cutoff to match your measurements or template.
5. Shape the Panels:
A sheet metal brake is handy for adding crisp bends to any replacement panels. We use an Eastwood Versa 20 which can bend up to 20 inch wide length of sheet metal.
If you need to add stiffness to your panel then a bead roller can be used to create rigid panels which reduces flexing.
6. Prepare for Welding:
Once your replacement panel is ready, you’ll need a welder. You can use flux core without gas, but it will make more sanding work. MIG welding with 75% Argon and 25% CO2 won't create much spatter and will create a much cleaner weld verses flux core. If you plan to weld the sheet metal to areas that won’t be accessible, then you’ll want to paint the metal with weld through primer instead of regular primer.
7. Tack Welding:
Once you have your welder set, start with tacking the panel in place. Tacking prevents severe warping on thinner sheet metal.
\
Two to three Tack welds should be spaced evenly around the panel. Continue welding the panel in short tacks to avoid excessive heat in the panel. If you blow out the sheet metal, try lowering the welder voltage and wire speed or use a copper backing plate to help control the heat.
8. Sanding Welds:
Once your welding is complete, use an angle grinder with a grinding disk to smooth out the top of the welds. Once you're closer to the panel you use a right-angle die grinder with sanding pads.
A band-file belt sander is good for areas you can't get to with an angle grinder.
9. Finishing Touches:
After sanding the welds, your floor pan is ready for some metal prep, primer, filler, fine sanding, and finally paint. For any auto body rust, the steps are pretty much the same. With practice you can completely repair rusted floor pans, firewalls, and any other sheet metal on your project car. If you have any questions, feel free to leave a comment below.
GRINDING AND CUTTING TOOLS


SHEET METAL SHAPING TOOLS


You’re also going to need a welder (preferably MIG). We also like using a copper backing plate (optional) to help reduce warping and blowout on thinner sheet metal. After you have all your new material in place don’t forget about metal prep, primer, filler, and paint.


