THE BIGGEST MISTAKES I MADE POWDER COATING
Are you looking to start restoring parts with a fresh coat of powder? If so, there’s mistakes you’ll want to avoid. We’ll uncover each powder coating mistake we’ve made.
Here’s some of the frequent issues folks hit when powder coating for the first time:
Your number one goal is to get a nice and even finished look that won’t break down over time, but if you have an item with rough or bumpy spots that’s not properly prepped then you’ll see poor results after the powder is cured. And let's not forget about safety protocols - working with powder coating can be hazardous if you don't take the right precautions.
Follow all the directions for your powder and powder coating gear and make sure you are in a well ventilated area. Make sure to use a proper respirator and a dedicated oven for curing parts.
1. PROPER SURFACE PREPARATION
First you’ll want to make sure that every nook and cranny is completely clean on your part.
Different size wire brushes and some cleaning solution like Simple Green Max Pro do wonders. If you want to save time and soreness, then invest in an ultrasonic parts cleaner.
After your part has all grease and oil removed, you need to sand. Aluminum cast parts can sometimes have small bubbles or casting marks. If you don’t sand them, they will show up like a sore thumb. Using 300 grit works well. Don’t sand too fine because you’ll want your powder to stick to the part.
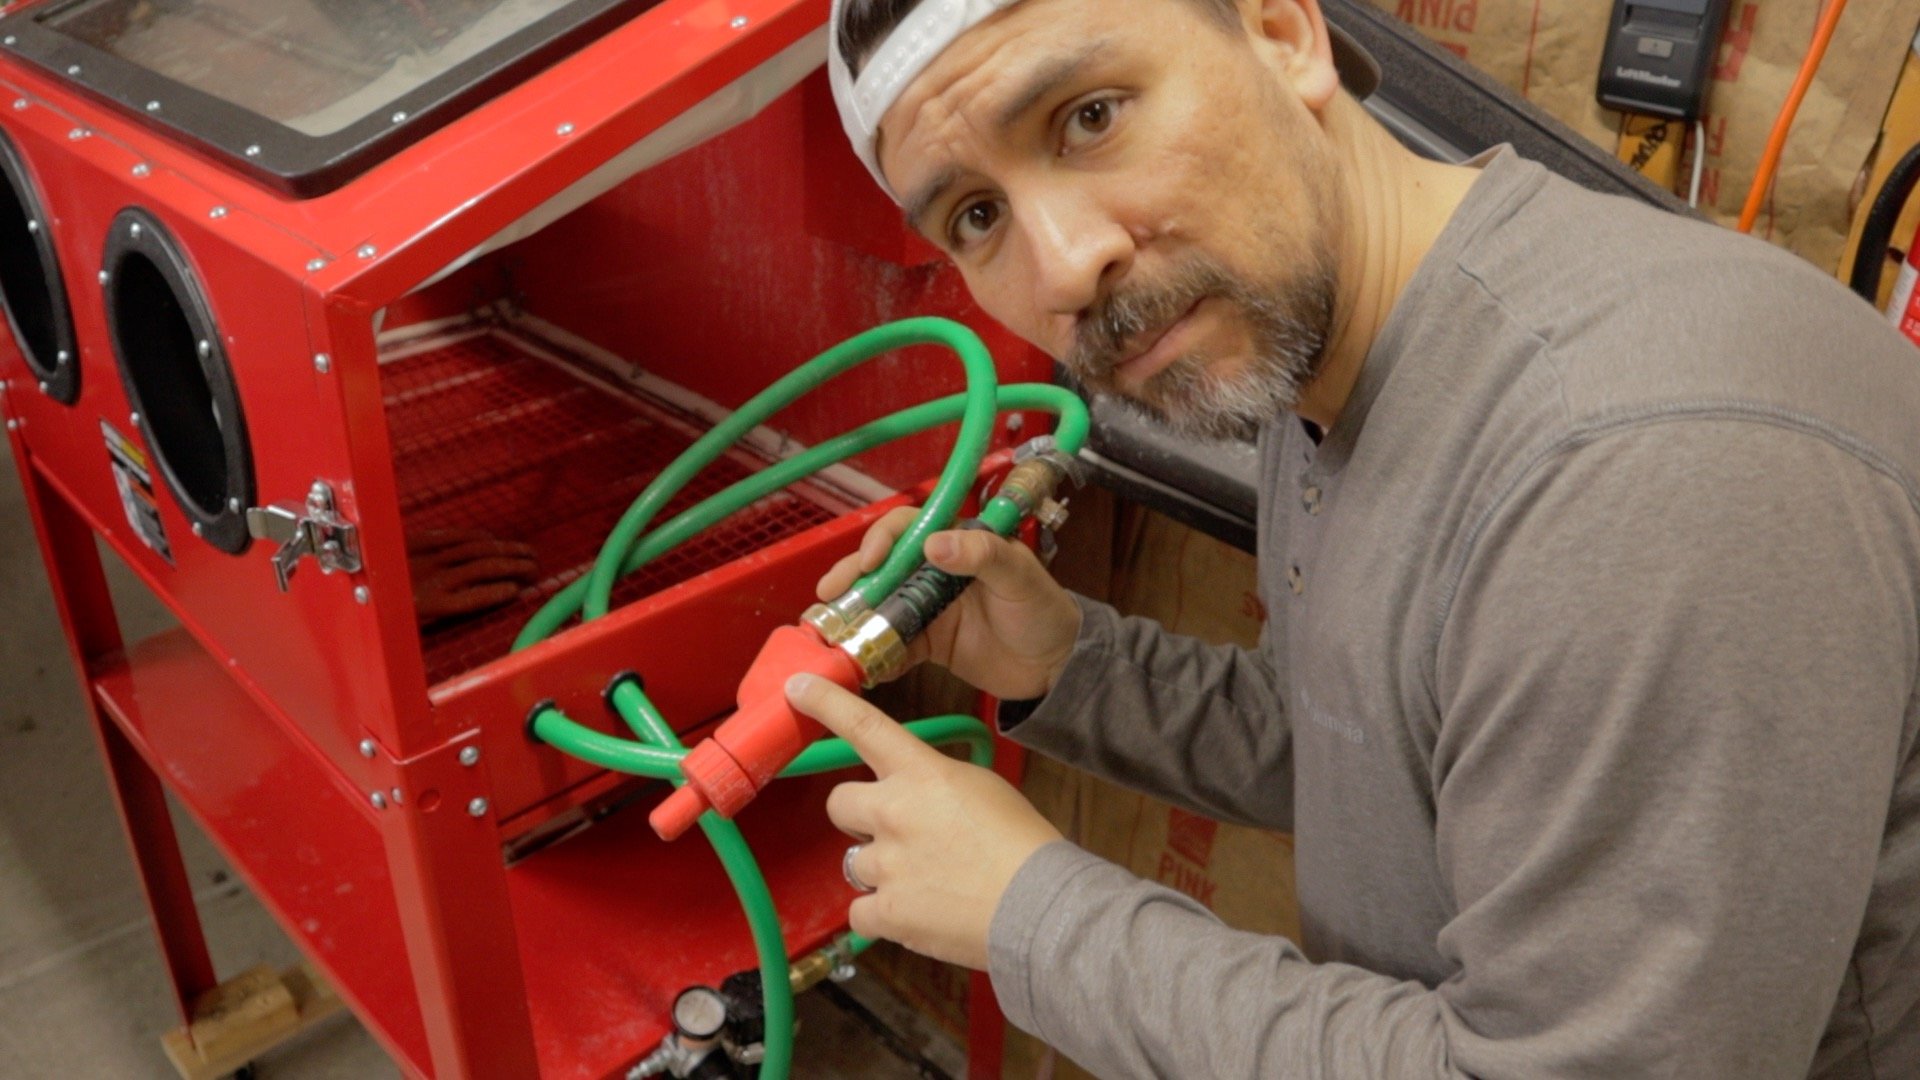
You can also sand or vapor blast your part too, but you’ll need a higher CFM capable air compressor. Also if you’re powder coating valve covers make sure you properly block off any baffles during sand blasting. You don’t want sand stuck in an area that could compromise your engine once put back together.
There’s also lots of debate on what to prep your part down with for the final cleaning. The best cleaner we’ve found is AllPrep (Iron Phosphate) from www.columbiacoatings.com. AllPrep is specifically made for powder coating and won’t leave residue behind like acetone or denatured alcohol which can cause cured powder to fail.
You’ll also want to pre-heat your part prior to powder coating. Let your part cool before you start to spray powder.
2. MASKING PART
All thread holes should definitely be masked, you don’t want cured powder in threads. We use high temp silicone plugs and/or high temp powder coating tape to prevent powder for getting into certain places.
We’ve had better results removing the plugs prior to curing and if you accidentally touch the powder, just use some compressed air to lightly dust off the area and reapply some more powder.
A small vacuum attachment kit with different attachments also works well at removing powder prior to curing. If you need to remove the tape, you can slightly heat the part up then carefully remove the tape.
3. APPLYING POWDER ONTO PART
Another common issue is dealing with overspray, which can look overly glossy and sometimes create a look called orange peel.
First, make sure your air regulator is working correctly and can maintain 10 PSI of air pressure. Some smaller and cheaper air compressors don’t have a good air pressure regulators, so throw one inline or right before your powder coating spray gun along with a water filter separator.
Make sure you are not too far or too close to the part. If you start to hear static then back up a few.
Also start with powder coating the most complex areas first and then move to easier flatter surfaces. This will help not to overspray difficult areas.
You can also use the voltage adjustment on your powder coating machine to help powder adhere to larger more complex parts. Higher voltage which increases the charge of the powder is best for larger flat surfaces.
For complexed shaped areas, a higher voltage will cause powder to stick to the closest surface. Turning the voltage down can help the powder land into nooks and crannies a bit better.
4. PROPER POWDER CURE TIME
Then there's the problem of proper curing, which is essential for a durable, long-lasting finish. First make sure you are using the right powder.
Prismatic Powders makes some great powder colors and if you follow the correct temp and curing time you’ll have pretty good results.
Not curing the powder at the right temperature for the proper length of time might not show issues at first. But after the part has been installed you may start to see wearing and peeling pretty quick.
So get yourself a proper powder coating oven that can get your parts up to 400 degrees Fahrenheit.
5. FINAL RESULTS
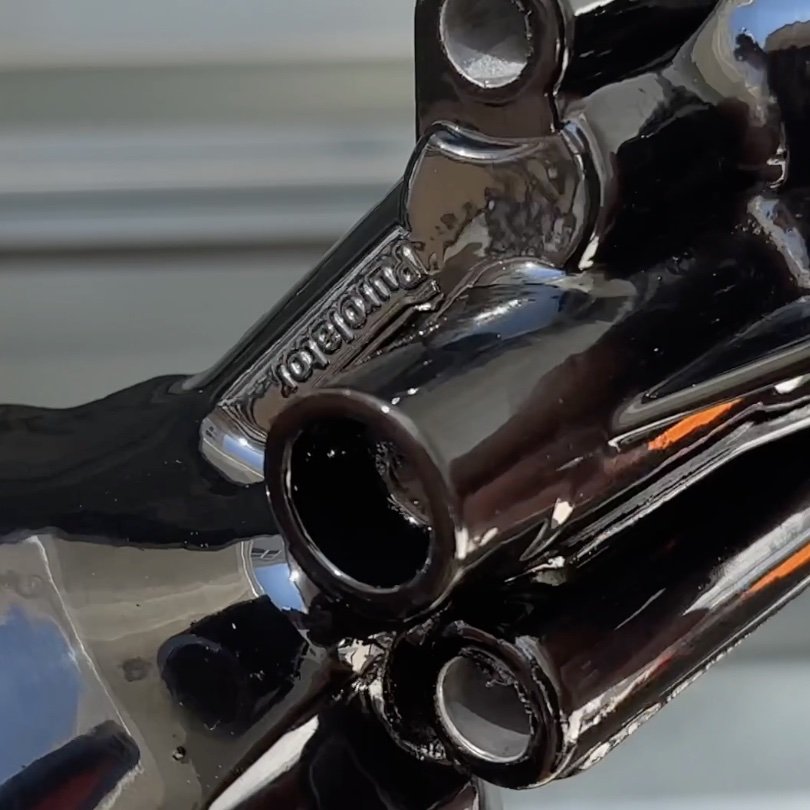
By avoiding these common mistakes, you can achieve professional-looking results that will last. You can pick up powder coating systems, ovens, and other prep material from www.eastwood.com
Eastwood also hooked up all our readers with a 10% discount when using code THEBUILD10


