3D PRINTED WALL STORAGE
Let's get organized with some homemade 3d printed garage wall storage items; from aerosol can holders to custom 3d prints.
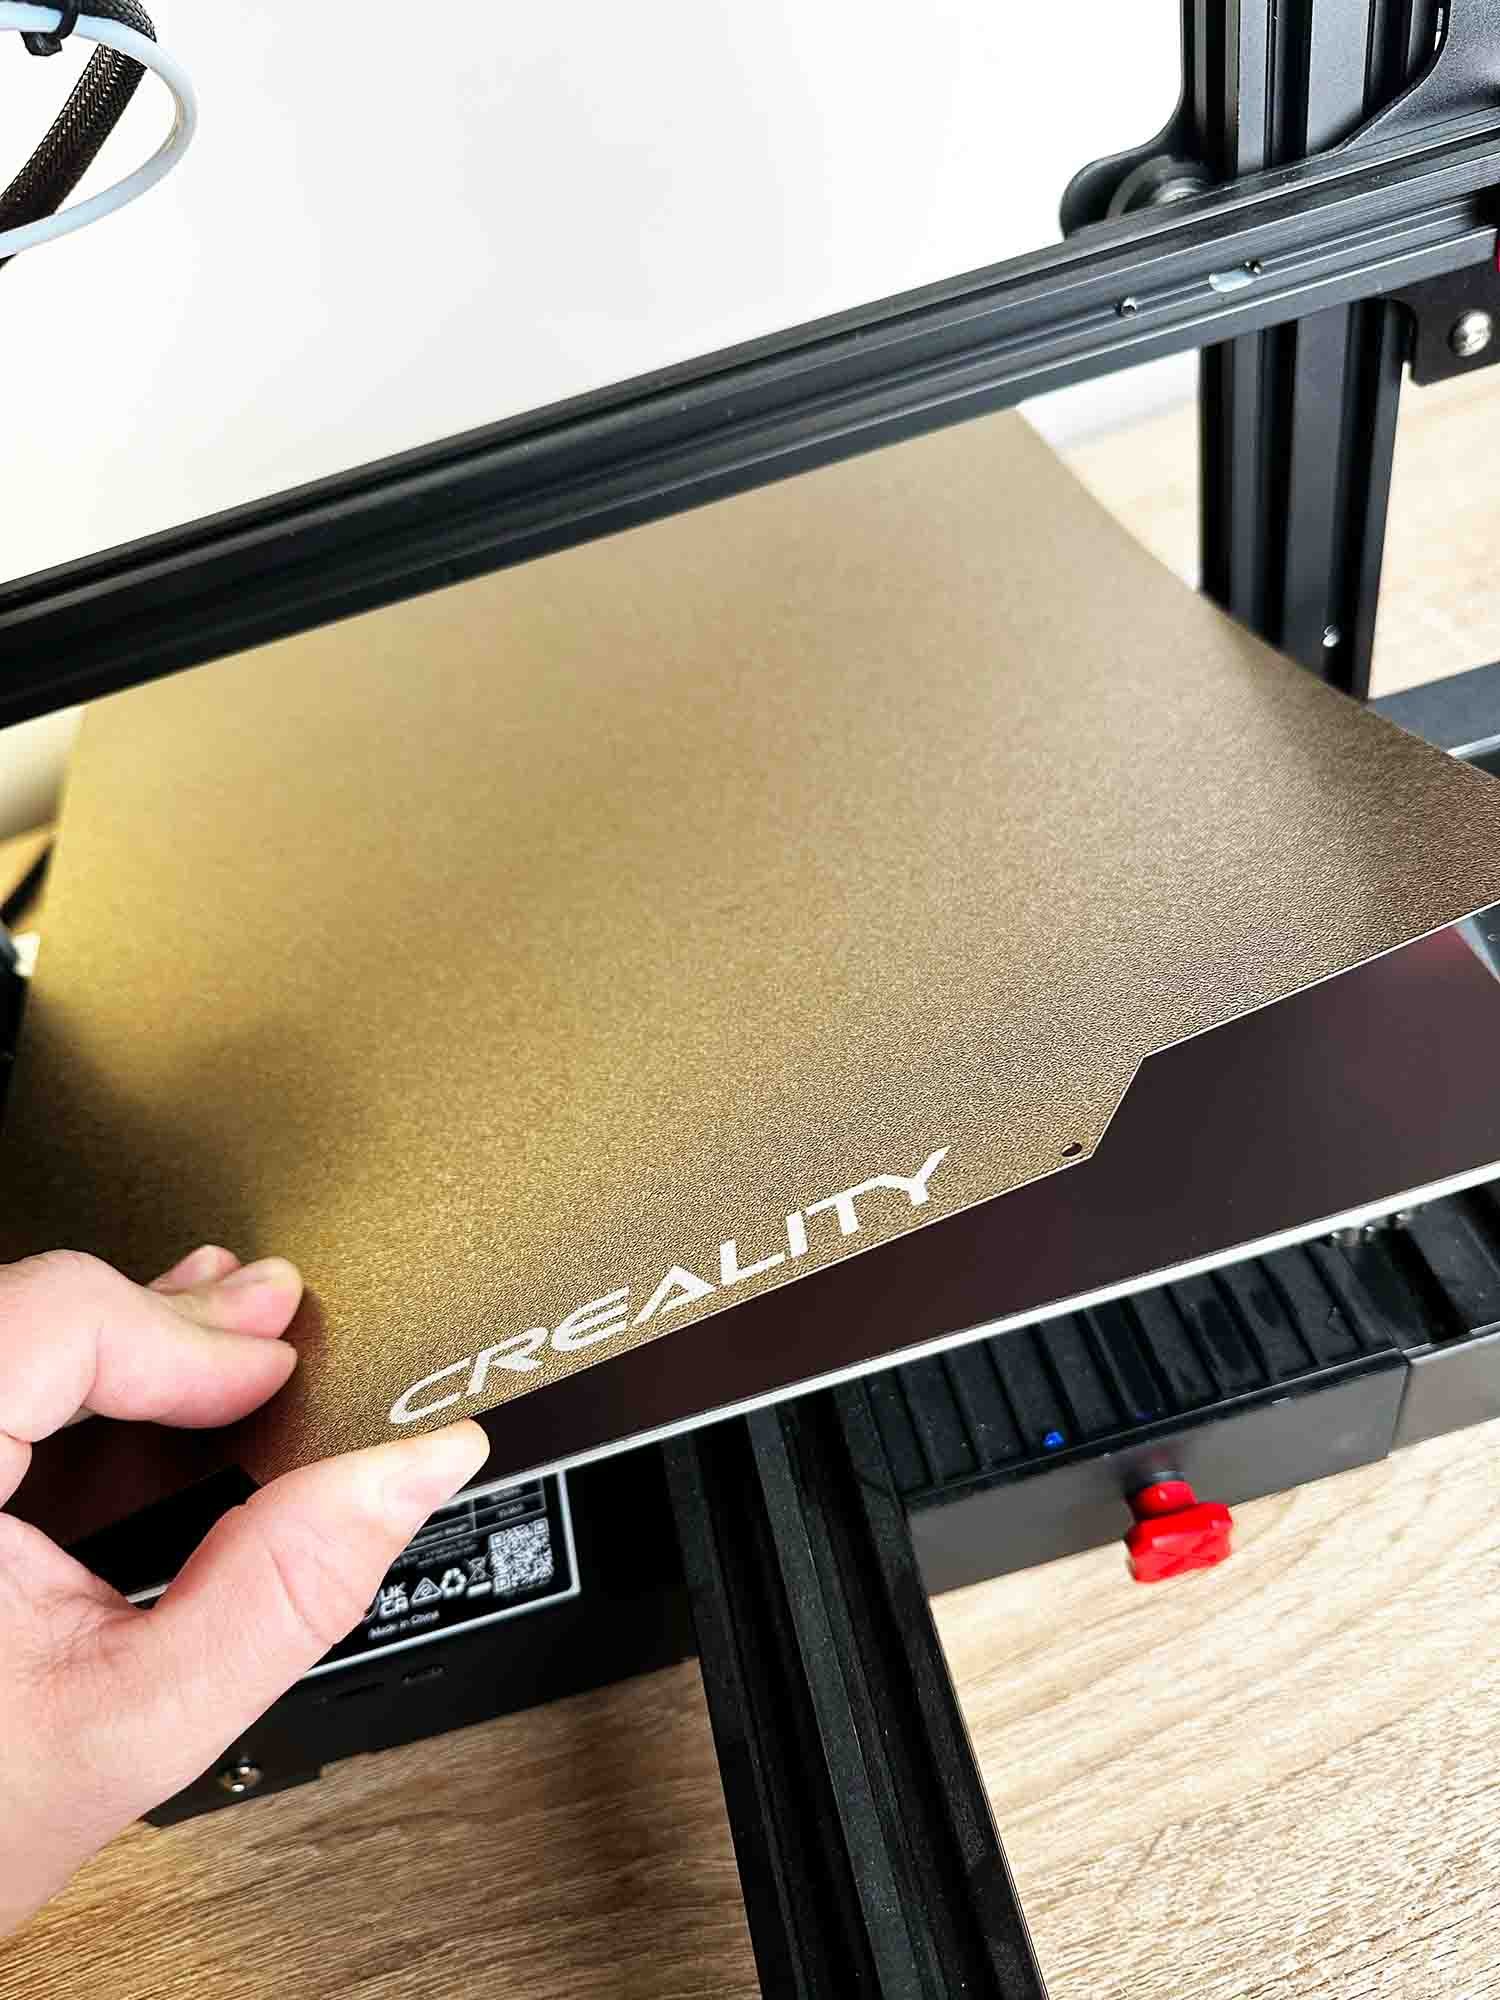
We’re 3D printing everything with our Ender 3 Max Neo 3d printer. Let’s start with all the parts we used for this DIY tool storage.
PARTS LIST
Creality Ender 3 V3 Newest Version
3D PRINTED AEROSOL CAN HOLDER SYSTEM
STEP 1: FIND A 3D PRINTED TOOL MODEL
We began by sourcing a 3D aerosol can holder model from Printables specifically designed for mounting on a wall.
The model is perfect because you can print one or a dozen. Your spray cans can then be neatly organized by screwing them into a vertical wall.
STEP 2: ADJUST THE 3D-PRINTED TOOL MODEL
However, we found that the original model diameter needed to be widened to accommodate standard aerosol spray cans. So, we made a few tweaks:
Widen the Model: We adjusted the entire size of the 3d model in Cura which increased the diameter to the proper dimension.
Reduce Print Time: Unnecessary material was also removed from the design to decrease the overall print time.
Material can be removed from an existing STL by adding a support blocker. Then adjust the walls, thickness, and layers to zero. You can grab the modified 3d file from Thingiverse here with the support blocker included.
STEP 3: PRINTING THE AEROSOL CAN HOLDER
We’re using an Ender 3 printer and PLA filament to 3D print the part.
Note: The part won’t be exposed to sunlight or weather, so ABS or another type of weather resistant filament isn’t required.
In order to try and reduce print time, the top, bottom, and wall layer count was reduced to just one. This allowed the first print to complete under 30 minutes, but the part wasn’t strong enough.
Adjusting Layer Count: We jumped back into Cura and adjusted the layer thickness to 0.2mm and added the layer count to 4 instead of just 1.
We ended up printing 24 aerosol can holders in total. We planned to have 6 holders mounted on each row with a total of 4 rows.
STEP 4: MOUNTING THE HOLDERS
For mounting the holders, you'll need a few straight lines and some basic tools:
Level: Make sure you create straight lines for each row. A level and a straight edge does the trick
Two Screws: Secure each holder with just two screws. It's that simple. We mounted ours using 2-inch drywall screws into a sheet of plywood. If you’re using drywall, then get yourself some proper drywall anchor screws.
The holders sit at an angle, allowing the next row to securely hold your cans.
STEP 5: ADD MORE ROWS AND A LEDGE
To maximize space, we added a few more rows. To hold the aerosol cans on the bottom row, we just used a scrap piece of 2x4 mounted to the plywood with some more screws.
ADDITIONAL WALL STORAGE
Every garage has more than just aerosol cans, if you have other items to organize check out the rest of these wall storage 3D prints:
SPRAY BOTTLE WALL HOLDER
This wall holder can hold spray bottles also with two screws. The default 4 walls with an infill of 20% should be plenty for spray bottles. Grab the file from Thingiverse here.
3D PRINTED WALL HOOK
Up next is this wall hook. If you want it to be super strong, you can add more walls instead of trying to print the part completely solid. You can grab this wall hook from Thingiverse here too.


