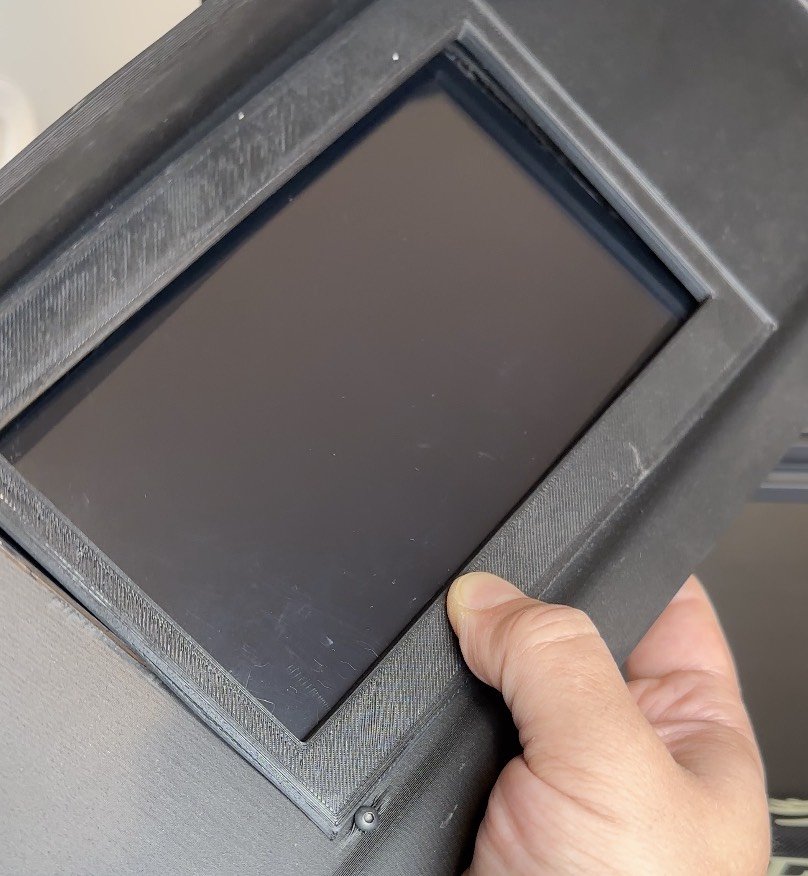
ENDER 3 MAX NEO REVIEW - BEST SETTINGS
If you’re going to start 3D printing parts on a budget, then take a look at the Ender 3 Max Neo. It has a pretty large print bed compared to other models at the same price, making it perfect for large 3D prints.
3D PRINTING CAR PARTS | 3D PRINTED DASH | 3D PRINTED STORAGE | BAMBU LAB | 3D SCANNING
WHY PICK CREALITY?
There are tons of sub $350 entry-level printers, but you’ll have a hard time finding one with a print bed as large as the Creality Ender 3 Max Neo (Ender 3 V3 Plus newest version).
It can print items up to 11.8 inches wide, 11.8 inches long, and 12.6 inches tall, which is helpful when printing larger parts like this 3D-printed automotive digital dashboard.
Note: If you’re looking for a replacement to the Ender 3 with the same bed size check out the latest Creality Ender 3 V3 Plus version.
Most 3D printers in the same price range of the Ender 3 Max Neo series have a print bed size of only 250mm x 250mm x 250mm or up to 10 inches wide by 10 inches long and 10 inches tall.
The print speed on the Ender 3 Max Neo can also go up to 120mm/s depending on your filament selection.
🎥 Learn how to make parts using an Ender 3 MAX on our YouTube Channel:
ENDER 3 MAX NEO CURA PROFILE
Before starting any 3D printing, it's essential to set up your slicing software. You can use Creality Slicer, which is essentially a modified version of Cura.
We alway use the latest version of Cura and create an Ender 3 Max Neo Cura Profile which you can find below:
Ender 3 Max Neo Printer Profile Settings
Ender 3 Max Neo Start G-Code Settings
G92 E0 ;Reset Extruder
G28 ;Home
M420 S1 ;Set bed leveling state on
G1 Z2.0 F3000 ;Move Z Axis up
G1 X10.1 Y20 Z0.28 F5000.0 ;Move to start position
G1 X10.1 Y200.0 Z0.28 F1500.0 E15 ;Draw the first line
G1 X10.4 Y200.0 Z0.28 F5000.0 ;Move to side a little
G1 X10.4 Y20 Z0.28 F1500.0 E30 ;Draw the second line
G92 E0 ;Reset Extruder
G1 Z2.0 F3000 ;Move Z Axis up
G1 X5 Y20 Z0.3 F5000.0 ;Move over to prevent blob squish
Ender 3 Max Neo End G-Code Settings
G91 ;Relative positionning
G1 E-2 F2700 ;Retract a bit
G1 E-2 Z0.2 F2400 ;Retract and raise Z
G1 X5 Y5 F3000 ;Wipe out
G1 Z10 ;Raise Z more
G90 ;Absolute positioning
G1 X0 Y0 ;Present print
M106 S0 ;Turn-off fan
M104 S0 ;Turn-off hotend
M140 S0 ;Turn-off bed
M84 X Y E ;Disable all steppers but Z
ENDER 3 MAX NEO NOT STICKING TO BED
One of the most frustrating issues when starting to 3D print is getting the first layer to stick to the print bed. The most common solutions you'll encounter include applying hairspray, using tape, or spreading a glue stick on the build plate.
But the FIRST thing you should do when the filament won’t stick is make sure you’ve properly set your z offset and bed level.
The z-offset is the height your extruder should be from the bed when printing its first layer. If the z-offset is incorrect, then nothing else will help.
If you upgrade your build plate such as replacing the glass to a magnetic bed like we did, you'll have to readjust your z-offset again too.
Z-offset is pretty easy to fix. Follow these steps to get your z-offset set correctly:
Auto Home your extruder.
Set your z height to zero.
Disable the stepper
Grab a piece of paper and slide it between the build plate and extruder.
Adjust your z offset until you feel a slight drag on the paper.
Move your extruder and check all 4 corners. Make adjustments with the bed feet level.
Then save your settings.
ENDER 3 MAX NEO BED LEVELING
After you have completed adjusting your z-offset, it's time to use the Creality auto-leveling feature. The auto-leveling function on the Creality Ender 3 Max Neo will precisely fine-tune the leveling of your print bed. Once this is done, don’t forget to save your settings again.
Make sure to add the command "M420 S1" in the Cura start G-code. This will instruct the printer to use the saved leveling state.
Once level and z-offset are complete you should get decent PLA filament prints with the Cura standard quality settings. However, if you move to ABS filament, you’ll have to adjust quite a few settings:
Creality ABS Cura Printer Settings:
Temperature of 240c
Bed temp of 100c
Fan disabled
Retract enabled
40mm retract speed
Initial layer height of .28mm
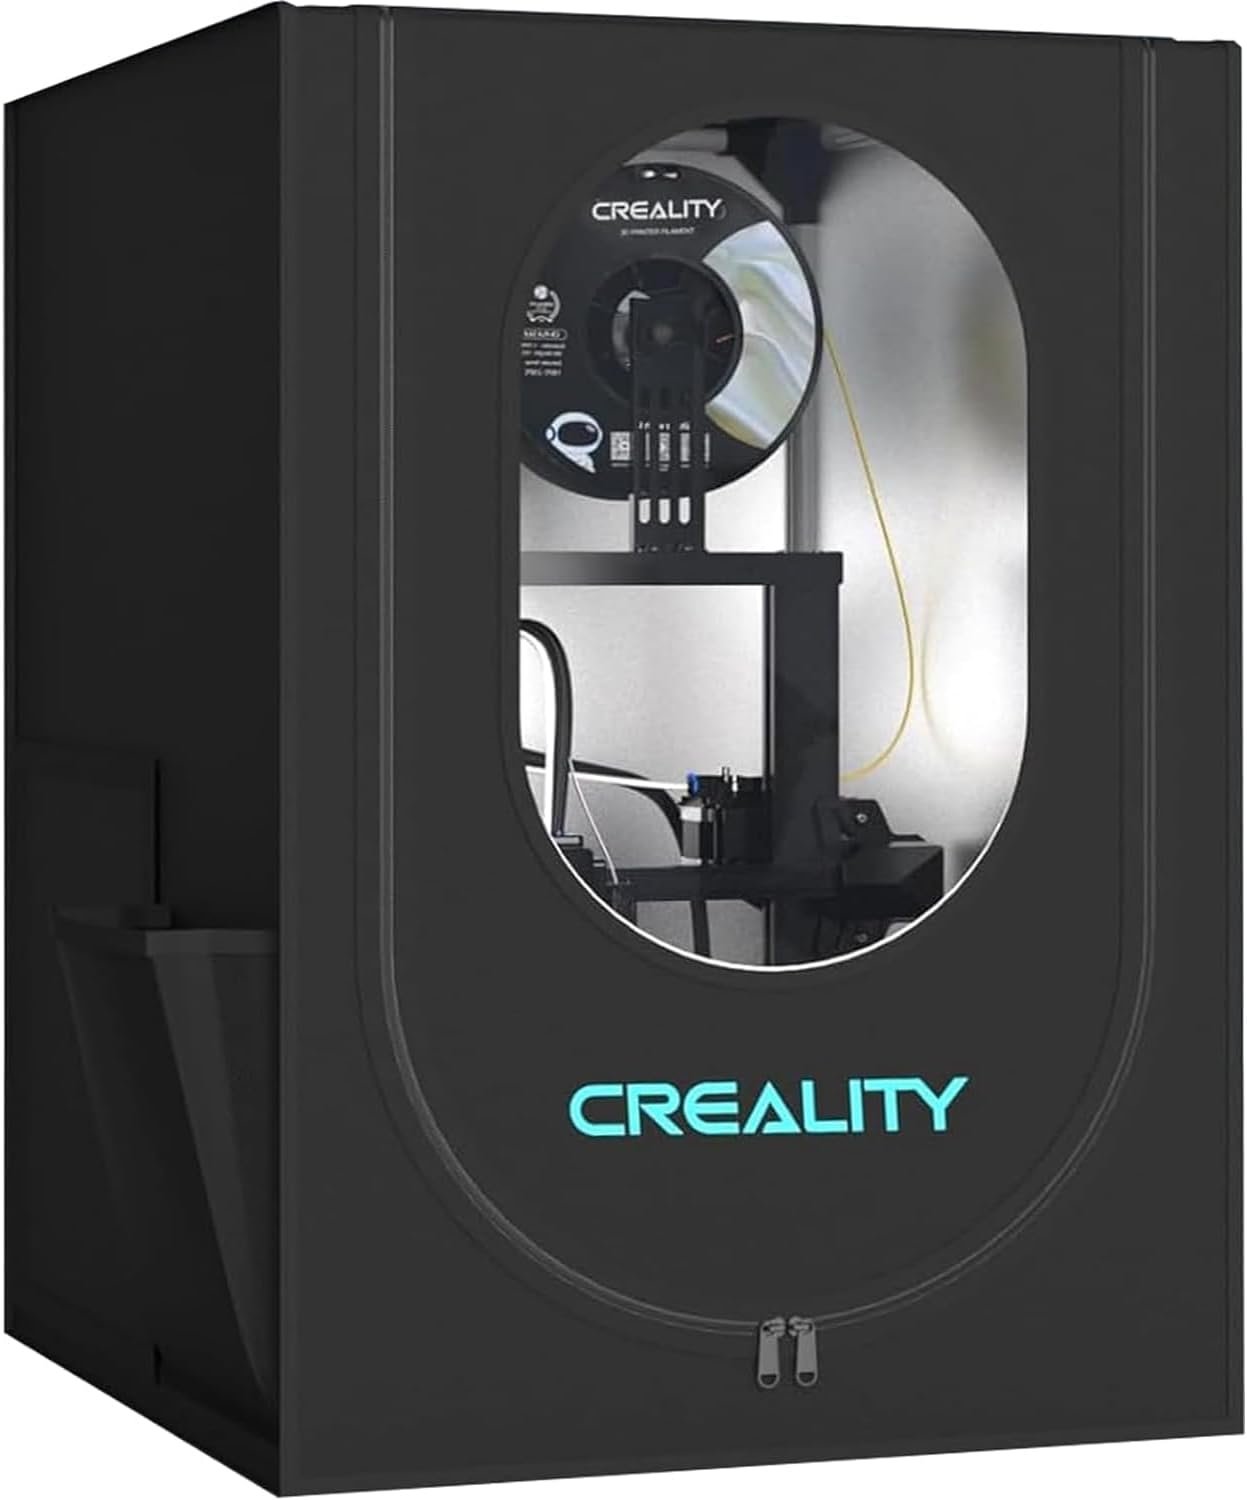
If you get warping on the bottom, then you’ll probably need an enclosure for your 3D printer to keep the heat as consistent as possible throughout the entire ABS printing time.
ENDER 3 UPGRADES
Here are a few extra items to consider for your Ender 3 Max Neo or any other brand printer. If you can’t find the Ender 3 Max Neo, you can go with the upgraded version, the Creality Ender 3 V3 Plus.d
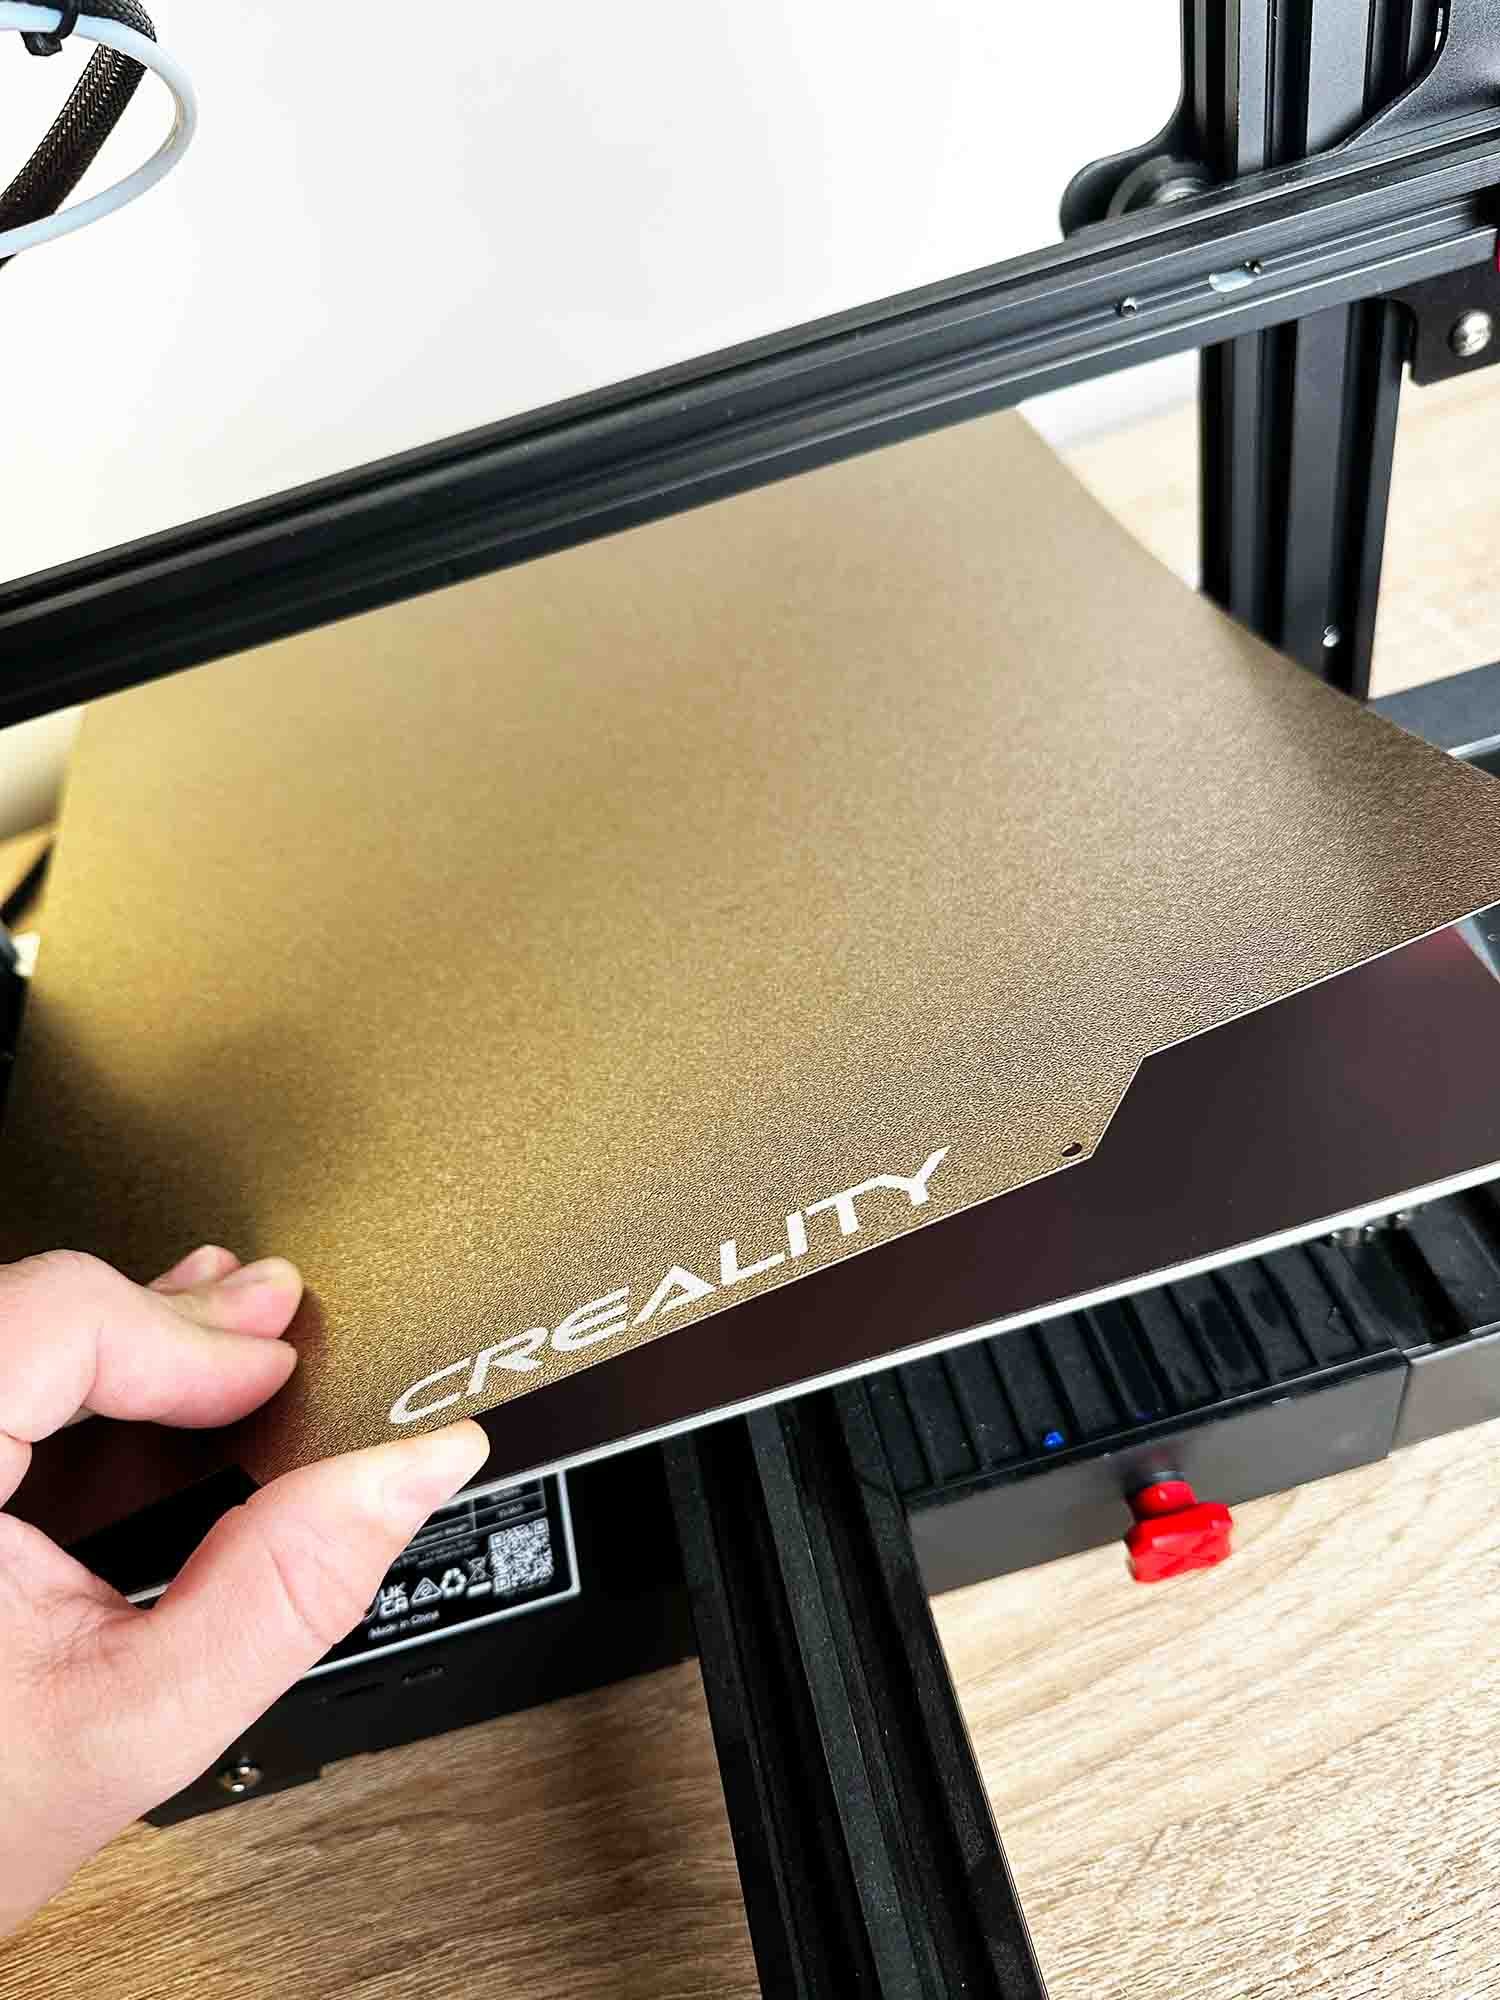
Magnetic Bed Upgrade - Helps remove completed 3D prints from bed
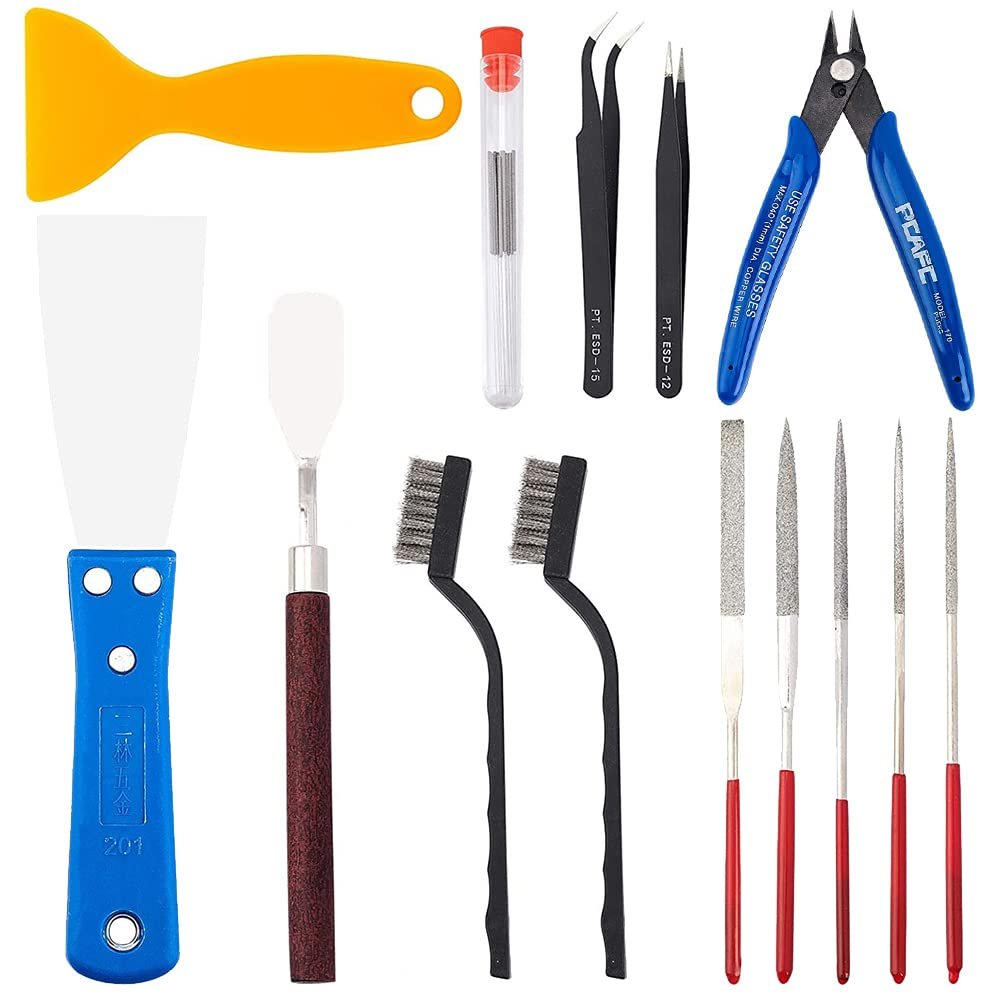
3D Printer Nozzle Cleaning & Accessory Kit - Used to clean and clip filament
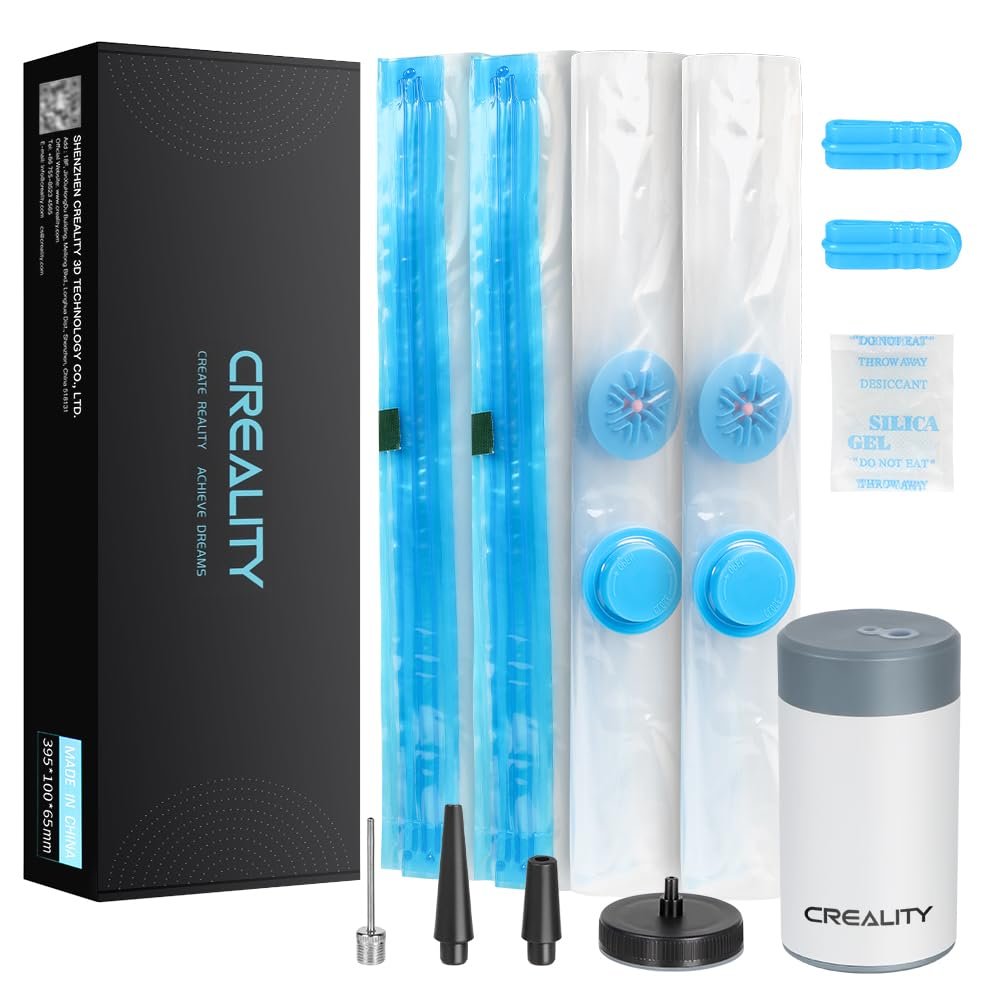
3D Filament Keep Dry Kit - Prevents poor prints due to excessive filament moisture
3D Printer Enclosure - Prevents warping especially with ABS
BONUS
Are you in need of a 3d printer upgrade? Check out our 3d printer selector tool:
3D PRINTER FOR AUTOMOTIVE PARTS SELECTOR TOOL
Hello, World!
Trying to find the best filament for your next car part to use can be hard, so we made a tool to help:


